
讓你的 LINE 官方帳號和 ChatGPT 一樣聰明,只要10分鐘?
LINE 官方帳號雖然可用條件式的方式來設定自動對

A2 Hosting 也是一個國外知名的主機商,其中也有許多方案可選擇,從便宜到貴都有,幾乎你想得到的 CMS 系統都可直接在 cPanel 系統中直接一鍵安裝算相當的方便,但在 Turbo Boost 方案中,居然找不到 NextCloud?所以想說來自行安裝測試看看囉。
工商一下
看完文章後,若對此優良的主機商有興趣的話,透過我們的圖示連結採購,最高可享有50%的折扣優惠(最終優惠以主機商為主),若需要我們協助的話,也可以用線上客服與我們聯絡唷。

以下先簡單的說明一下安裝的過程
command 如下,登入的帳號密碼和主機可以在 Connection Details 內看到
ssh -p 7822 username@example.com
登入後應該會看到提示字元
username@example.com [~]#
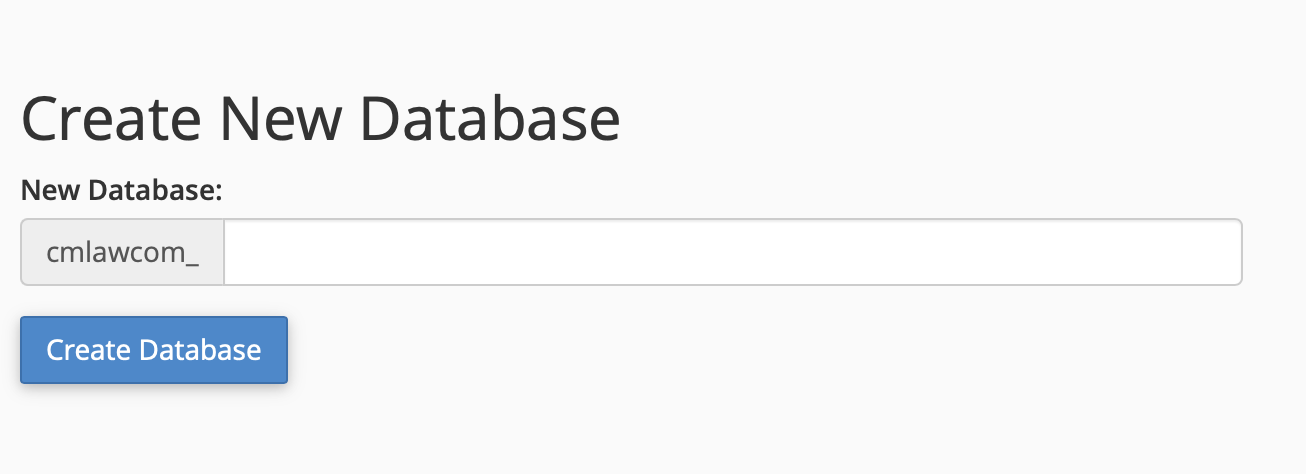
在 databases 建立 MYSQL Databases
首先建立資料庫
建立 mysql user
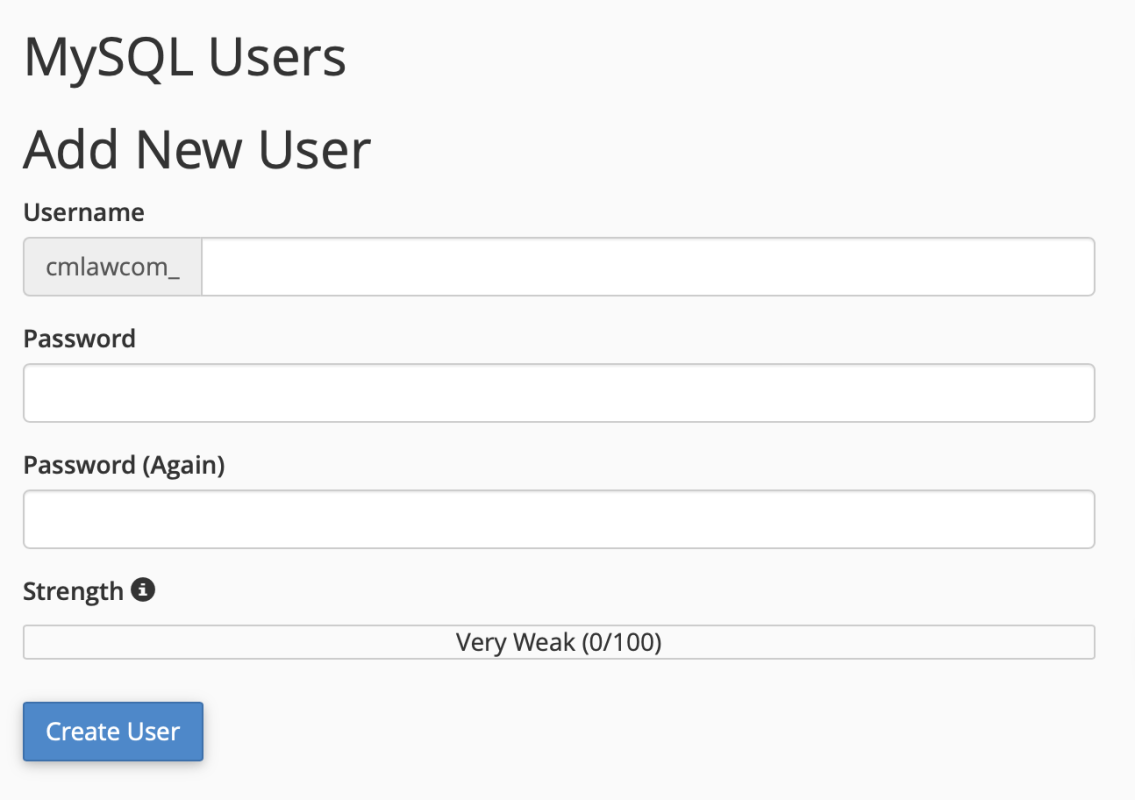
最後記加將 使用者對應到資料庫並給與權限,否則會無法安裝唷
加入自已已採購的domain,並設定好根目錄
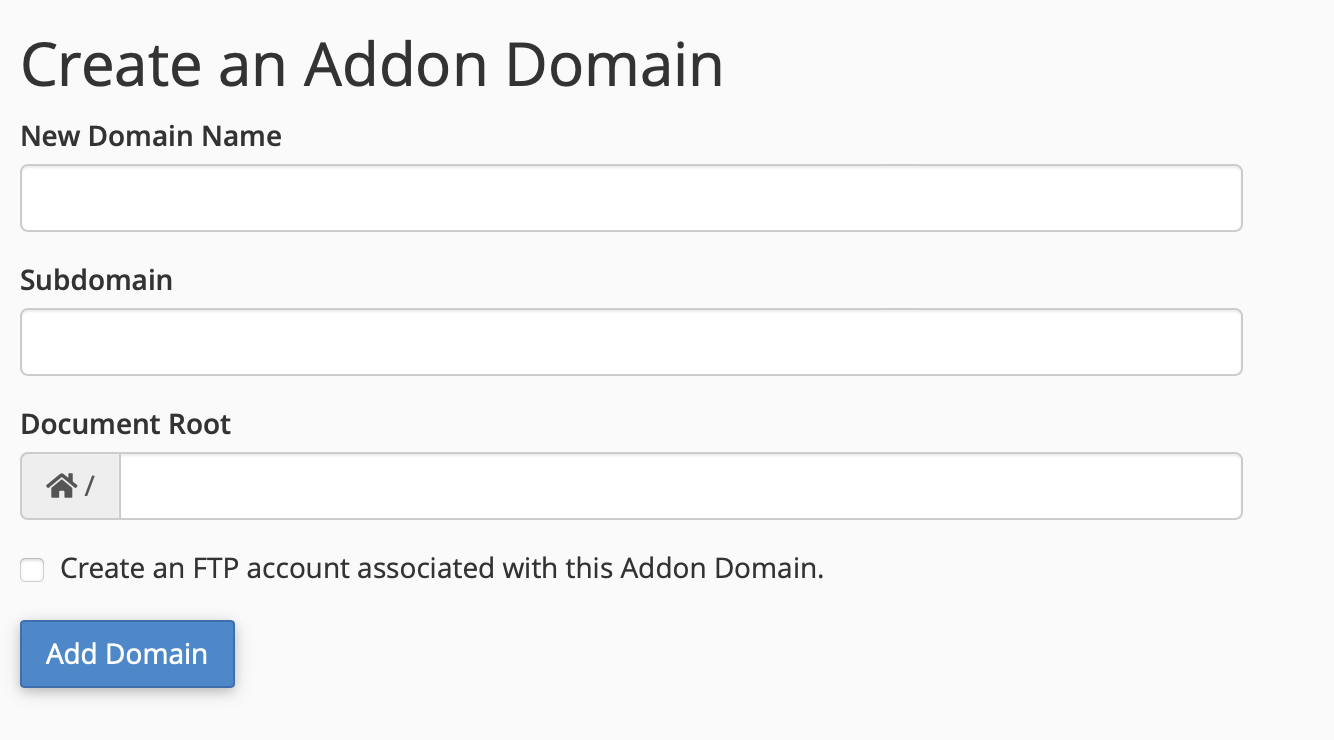
建立 subdomain 並維護目錄
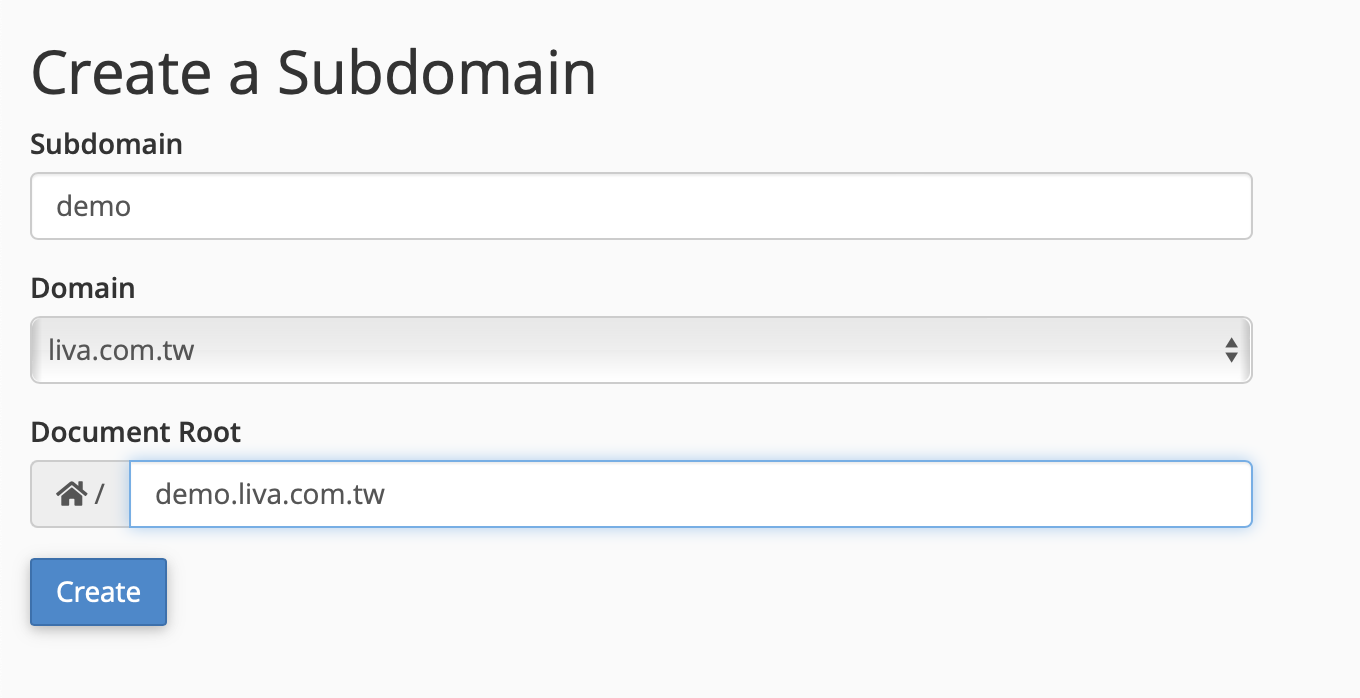
Document Root Redriection to http://demo.liva.com.tw
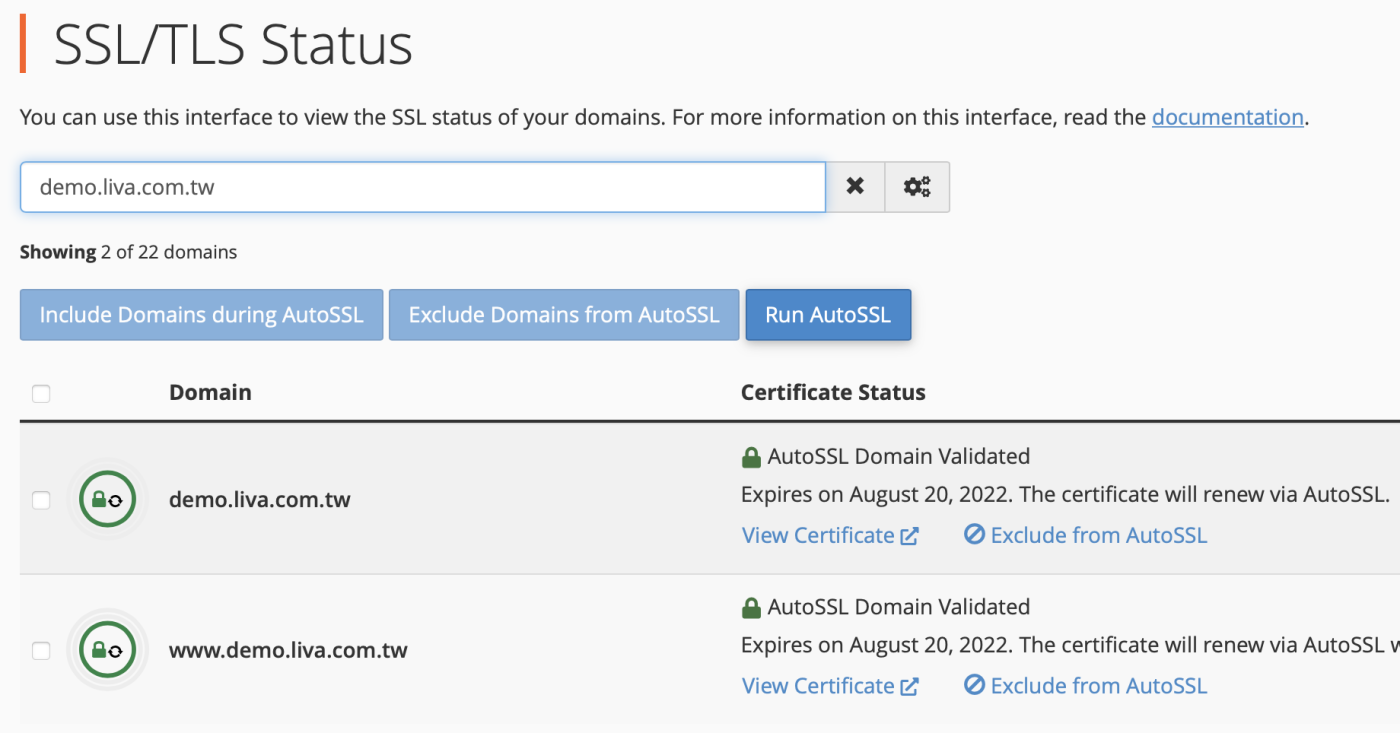
產生網站的安全憑證,打勾後,執行 Run AutoSSL 即可
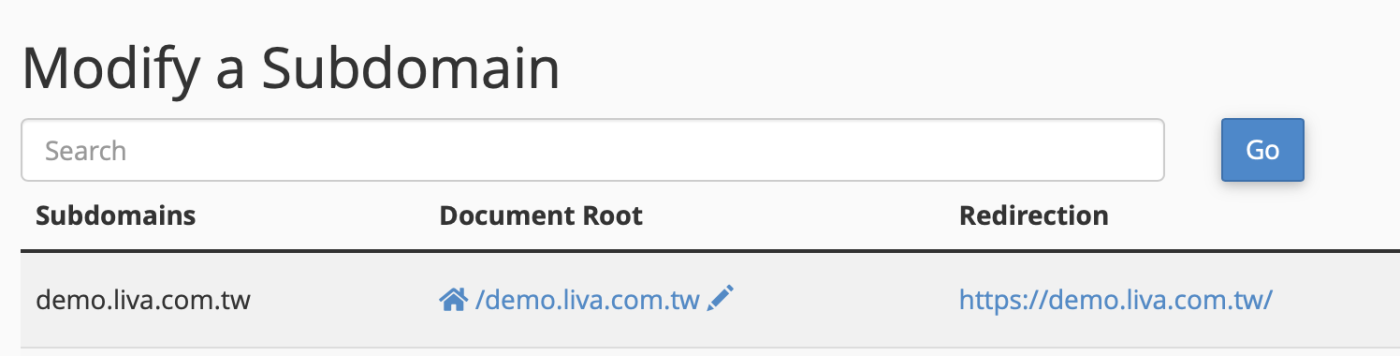
Document Root Redriection to https://demo.liva.com.tw
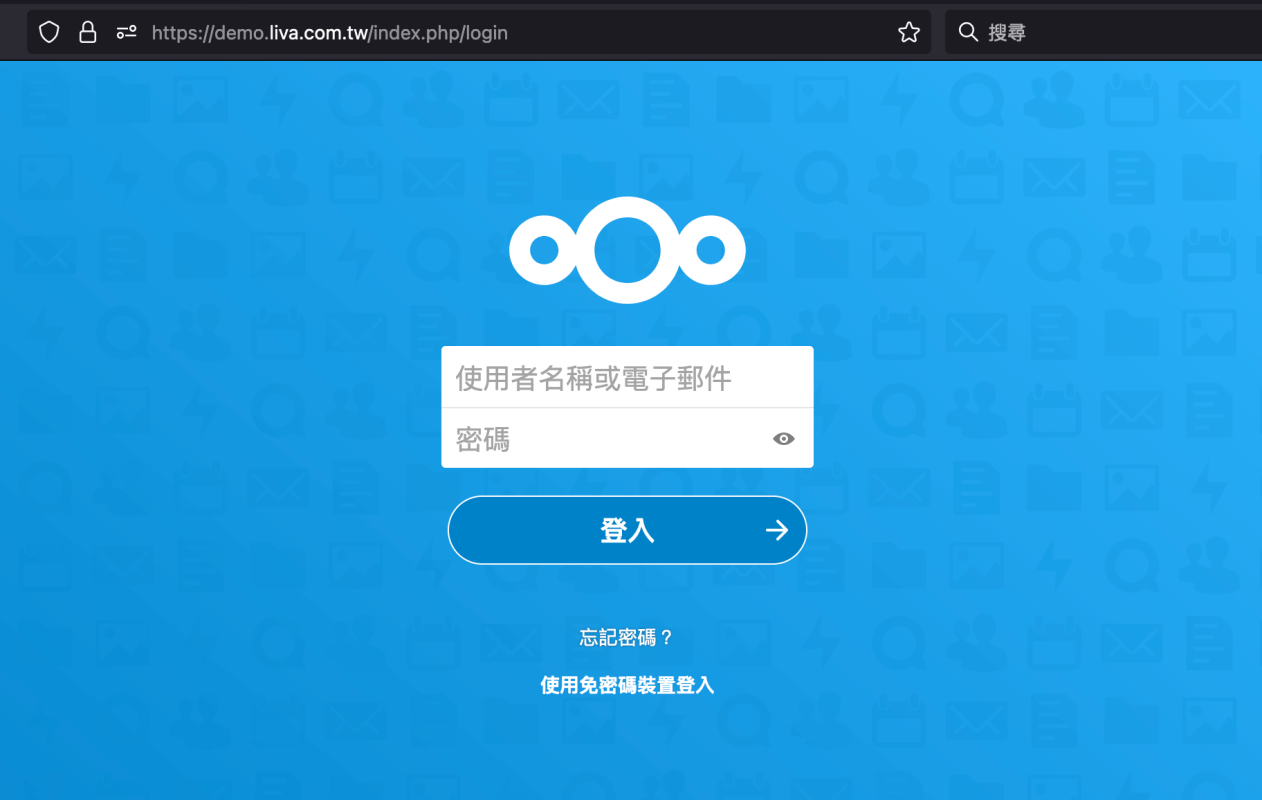
打開瀏覽器,網址輸入 demo.liva.com.tw,即可線上安裝 nextcloud
安裝好即可登入使用囉
以上是簡單的 NextCloud 24 簡介,若想更深入的了解 NextCloud 24 的話,也可以聯絡我們唷!
LINE 官方帳號雖然可用條件式的方式來設定自動對
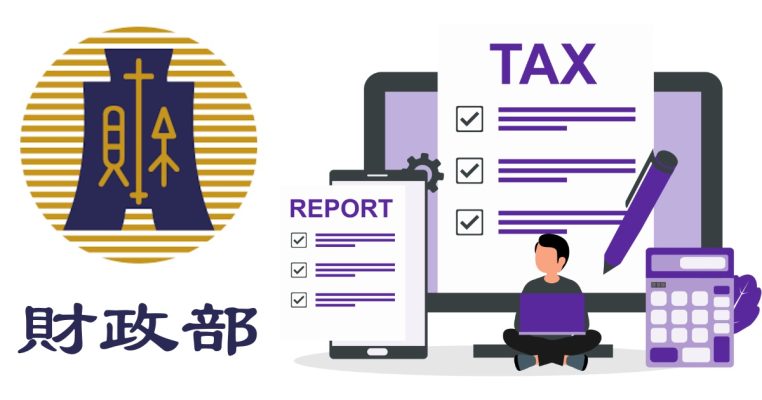
網路賣家注意! 明 (112) 年元旦起,只要透過

雖然現在的通訊軟體非常即時又方便,但部份的商務訊息

本篇bluehost 教學重點在於說明如何在blu